Unbelievable Info About How To Build A Paper Mache Tree

Paper Mache Trees - Handcrafted Wedding Decor


How To Make A Paper Mache Tree // Quick And Easy! - Youtube
Paper Mache Spring Tree | Learning 4 Kids

Making A Tree With Children : 6 Steps (with Pictures) - Instructables
The tree needed leaves and not just a few, but a good few hundreds of them.
How to build a paper mache tree. 1) soak your shredded paper overnight (or for a couple of hours) 2) use your hand blender to pulp it as smoothly as you can. 12′ paper mache jungle tree made by emily willis, jennifer willis, and john willis we needed an art medium to build a 12 foot jungle tree. Papier mache 6 paper mache medium house box, 5ct.
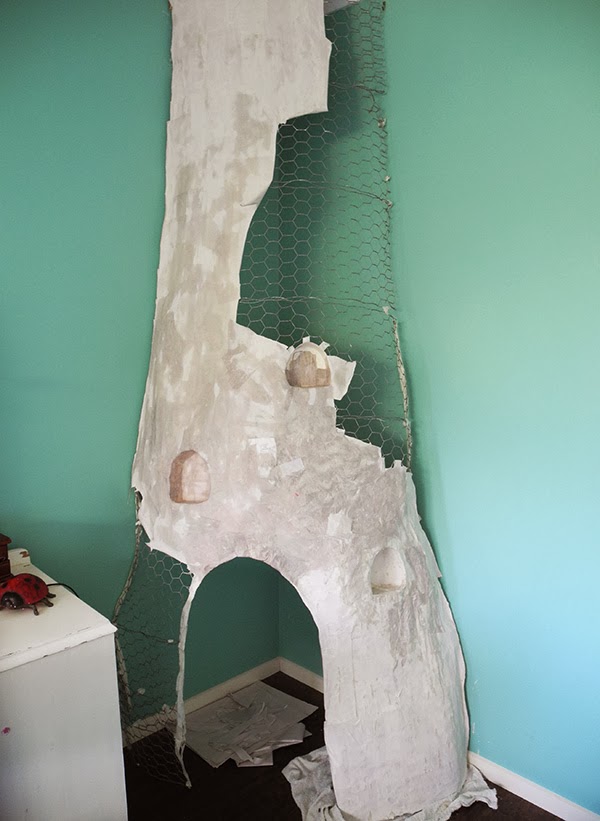
The first step in making the tree bark texture is to use aluminium foil and shape it into the desired shape. This if you want to hang. Ad find low prices everyday on paper mache at michaels® craft stores.
Once i form the details with newspaper and masking tape, i am ready to “frost” the piece with the clay recipe. Cut out a large triangle for the top of the tree. We start by cutting an.
Begin with the white sheet of construction paper; In this video i'm sharing with you how i created a tree out of paper mache. This channel is dedicated to bringing you daily videos where we draw, paint and build amazing things.
I made this giving tree for a direct donation campaign at my son's elementary. To avoid kids getting bored, i offered them them 3 ways to make leaves: Before using the paper, you must soak it in water until it is softened.
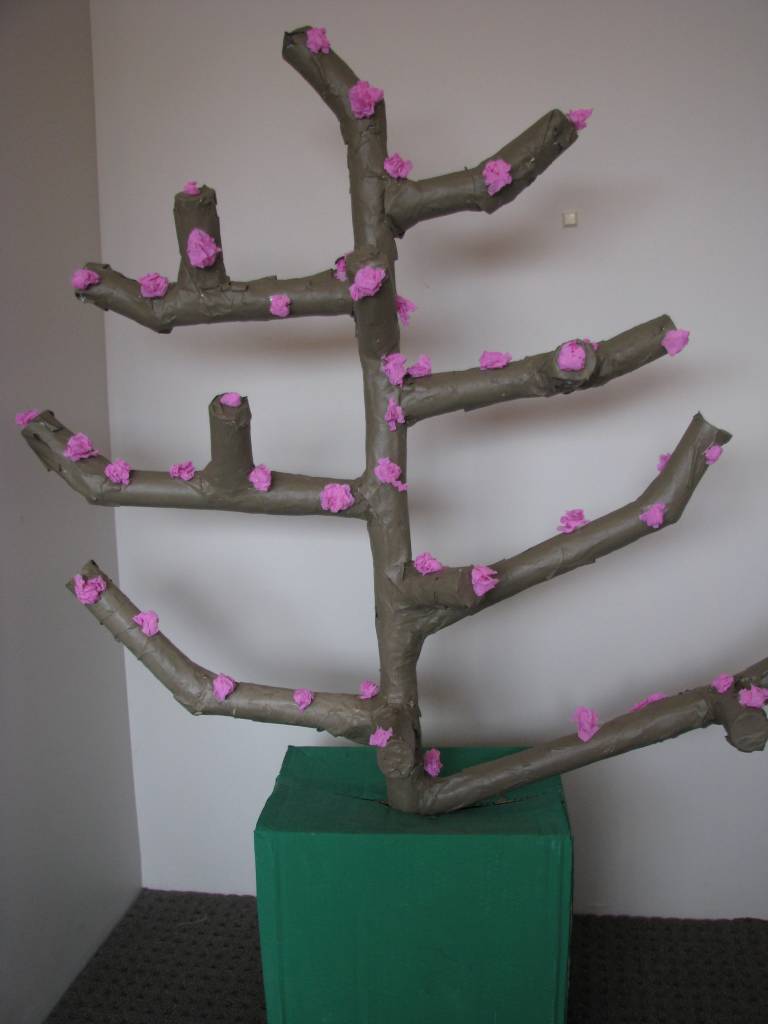
Once saturated, remove excess water by squeezing it, then lay on a flat surface with about five. If you want to make the branches stronger, add metal wires to the base! Adhere the tape to the bottom right corner of the tree trunk.
Simple steps how to make papier paper mache ornaments: Papier mache 10.5'' paper mache dog $74.82. $12.99 save 20% with code 22madebyyou quickview.
Cut out smaller triangles or strips to stick to the outer edge, depending on how many. I used jonni’s recipe for the original paper mache clay. Tear with the grain, peels nice and straight.
Turn the paper over so that the back side, the side you will adhere to the wall, is facing up.

Making A Tree With Children : 6 Steps (with Pictures) - Instructables
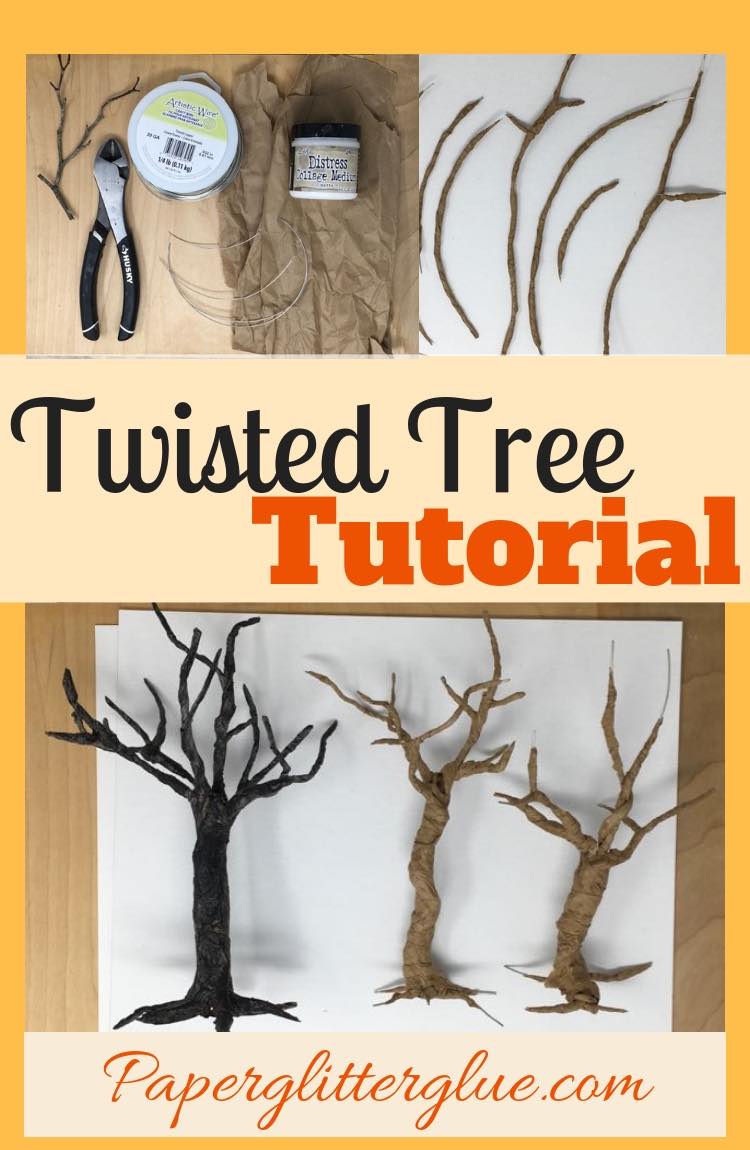
Twisted Tree Tutorial - Paper Glitter Glue
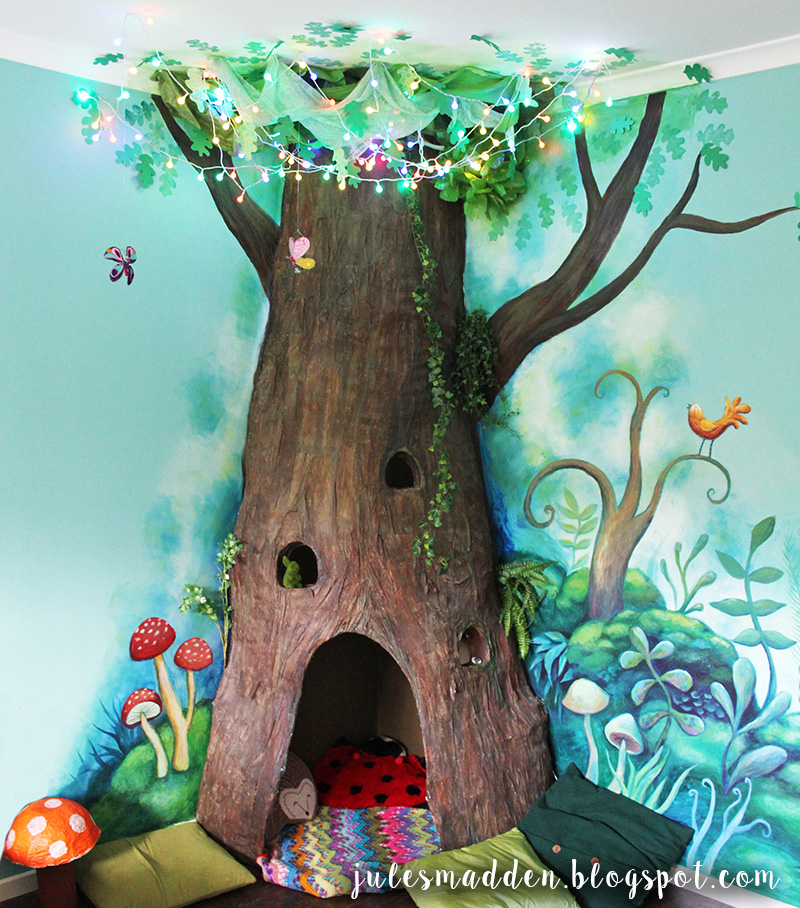
Jules Madden: Paper Mache Tree Project

Paper Tree | Thatpearlgirl Mache Tree, Diy Necklace


Making A Tree With Children : 6 Steps (with Pictures) - Instructables
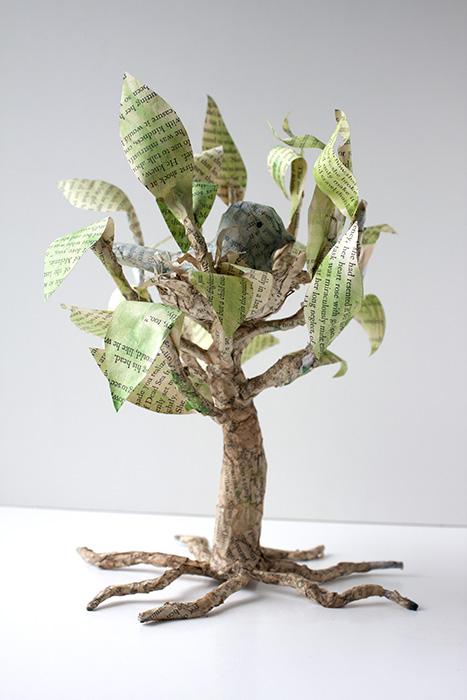
Crafty Challenge 7: Paper Mache Tree With Nesting Bird | The Sisters
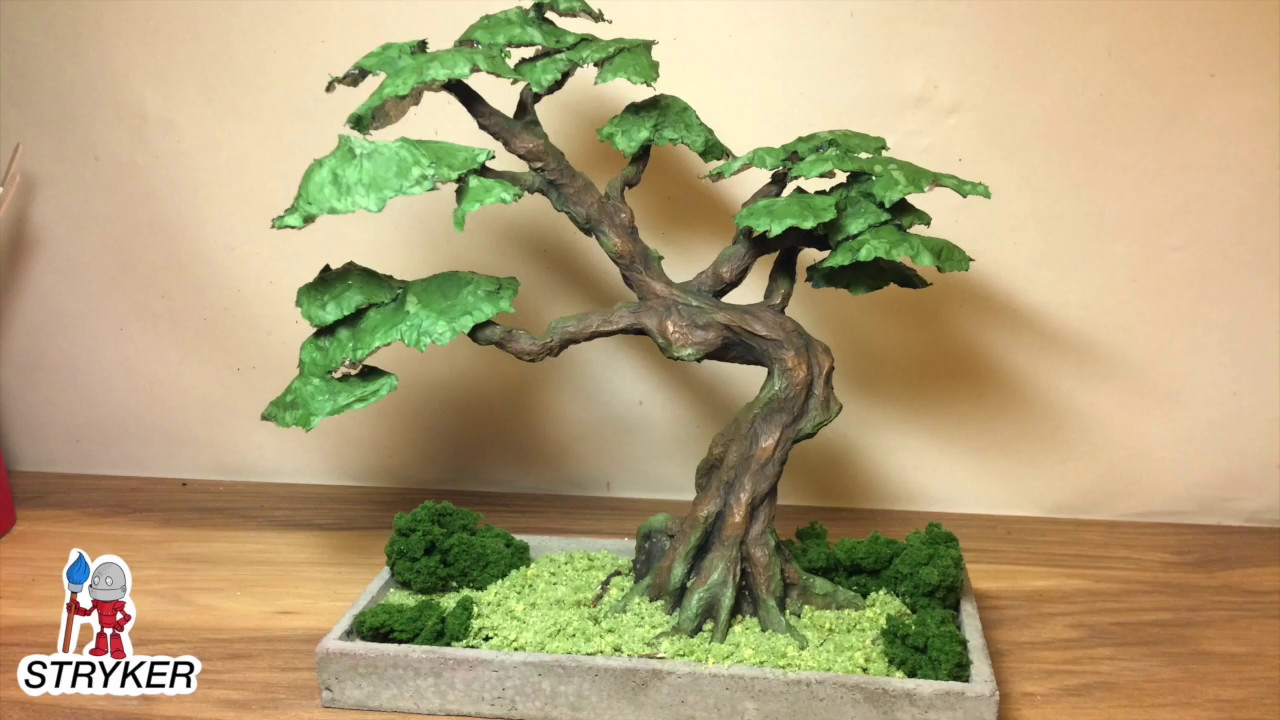
How To Make A Paper Mache Bonsai Tree - Youtube

Making A Tree With Children : 6 Steps (with Pictures) - Instructables

Making A Tree With Children : 6 Steps (with Pictures) - Instructables
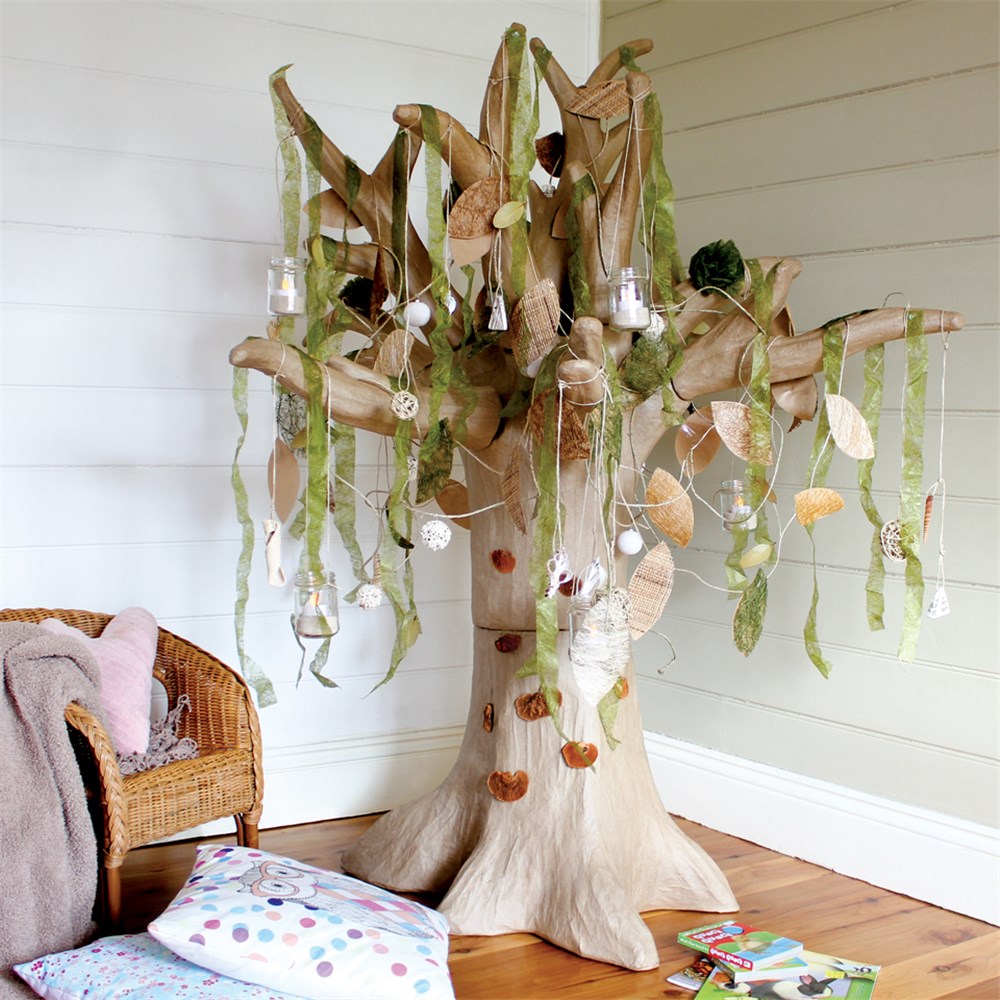
Giant Papier Mache Tree | Cleverpatch - Art & Craft Supplies

Nature Spirits/tree Goddesses | Paper Mache Tree, Sculpture,
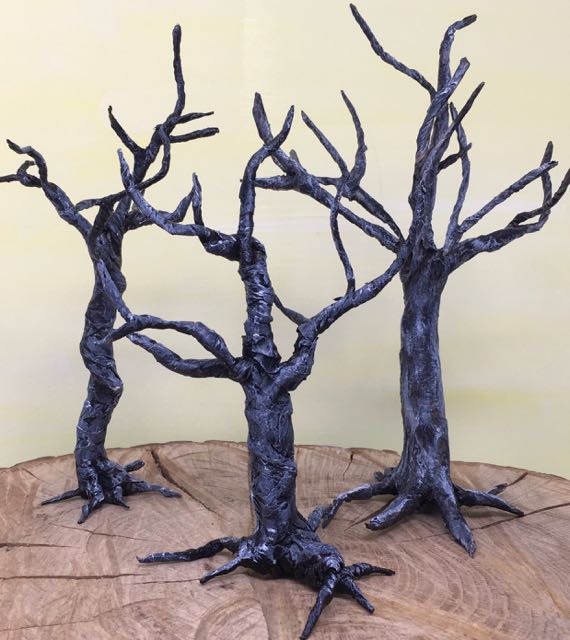
Twisted Tree Tutorial - Paper Glitter Glue